DIY Sea Creature Kid's Wall Art

I am going to bear witness you how to make the coolest underwater ocean beast wall art for your kid's room!
You tin can hands cut out the shapes with a Cricut cutting machine, or you lot can make something completely different based on what they are into at the moment, or adapt this idea to utilize their name, initials, or yous can even impress out a quote or word art for your own walls.
I decided to finish off the collage with resin so it would add to the whole underwater effect. Simply the resin gives your art a great finish no matter what design you decide on.
Supplies
- Cricut cutting machine
- Cardstock in colors of your pick
- Glue stick
- Acrylic paint for the frame
- Ii-role clear resin
- Wood-framed painting surface (I used an fine art panel, turned around)
- Blowtorch (for removing air bubbles in resin)
How to Make The Wall Art

These directions are for making the same wall fine art we did, but you lot tin change it upwards even so you desire. This is a great project for poking around in Design Infinite to see what is in there that would await good collaging together to make art!
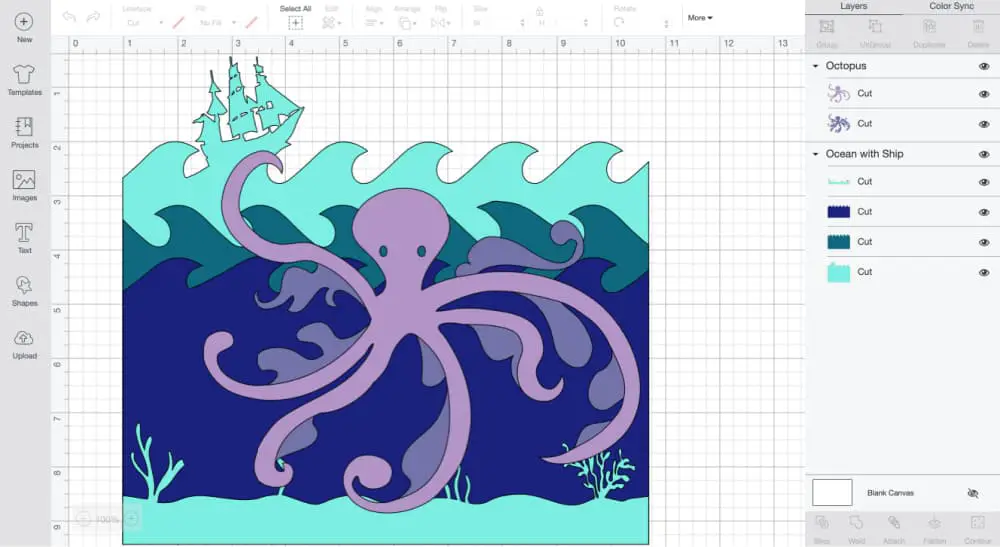
- Use your Cricut machine to cutting out the six file layers– the send, the coral, the waves, and the body of water monster. The orange sky is simply a piece of cardstock and is not a Cricut file– I used a full piece the size of the recess. If y'all are using letter-sized paper, place it on the mat horizontally to cutting.
- While those are cutting, paint the frame with a color of your choice.
- In one case the Cricut files are done cutting, trim them to the size of the recess and layer them in for a dry fit, to brand certain yous like the color combination and the fit.
- Remove the pieces and gum all together only like they were in the frame.
- Once dry out, glue the stack into the frame.
- Mix your two-part resin according to the packaging– usually the ratio is one:1, but double bank check just to be safe.
- Identify the framed slice on a level surface, and pour the resin in. It'due south ok to elevator it upwardly and assistance the resin get to all of the edges and corners.
- For this first pour, brand sure you use enough resin to at to the lowest degree embrace the entire image, side to side and corner to corner. Utilise a blowtorch to remove air bubbling. Unless you desire bubbles in there– it is underwater afterward all.

Once that layer has completely dried, mix more resin and repeat the above steps. You want all of the layers completely covered with the resin. The final thickness of the resin is up to you– just keep adding layers until y'all're satisfied.
Drill a hole in the back of the frame, or utilize wire and modest eyelet screws for hanging.


What practise you think?

Source: https://craftwhack.com/diy-sea-creature-kids-wall-art/
0 Response to "DIY Sea Creature Kid's Wall Art"
Post a Comment